

Why Epoxy Floors Peel: Moisture Testing and Prevention
A resin floor may look like a simple painted finish, but its performance depends on the interface with the concrete. Forklift traffic, cleaning chemicals and impact expose a weak bond quickly. When owners investigate epoxy floor peeling causes, moisture and surface preparation should be considered before blaming the topcoat alone.
Sri Lanka's humid conditions can slow concrete drying, and many older ground-bearing slabs have no effective vapour barrier. A surface can look dry while moisture continues moving through the slab. Covering it with a low-permeability resin changes how that moisture escapes.
What peeling and blistering can reveal
- Coating lifts cleanly from concrete: preparation, contamination or moisture may be involved
- A thin layer of concrete remains on the coating: the surface zone may be weak
- Rounded blisters contain moisture: vapour pressure or osmotic effects need investigation
- Failure follows tyre paths: mechanical loading may exceed the system or bond strength
- Peeling starts at joints and drains: detailing, cleaning or water exposure may be responsible
- Soft or uncured patches: mixing ratio, temperature or chemical contamination may be involved
Why concrete moisture matters
New concrete contains construction water, and ground moisture can move upward through existing slabs. If the coating system is not suitable for the slab condition, moisture can interfere with adhesion or create pressure and chemical conditions at the interface. The risk depends on the slab, environment and complete flooring build-up.
There is no single visual check that proves a slab is ready. Test methods measure different things, so results must be interpreted against the flooring manufacturer's limits and the building's operating condition. Readings taken immediately after air-conditioning starts, for example, may not represent long-term service.
Moisture checks before epoxy flooring
- Review the slab age, thickness, vapour barrier and exposure history.
- Inspect for damp patches, salts, previous coatings and recurring water entry.
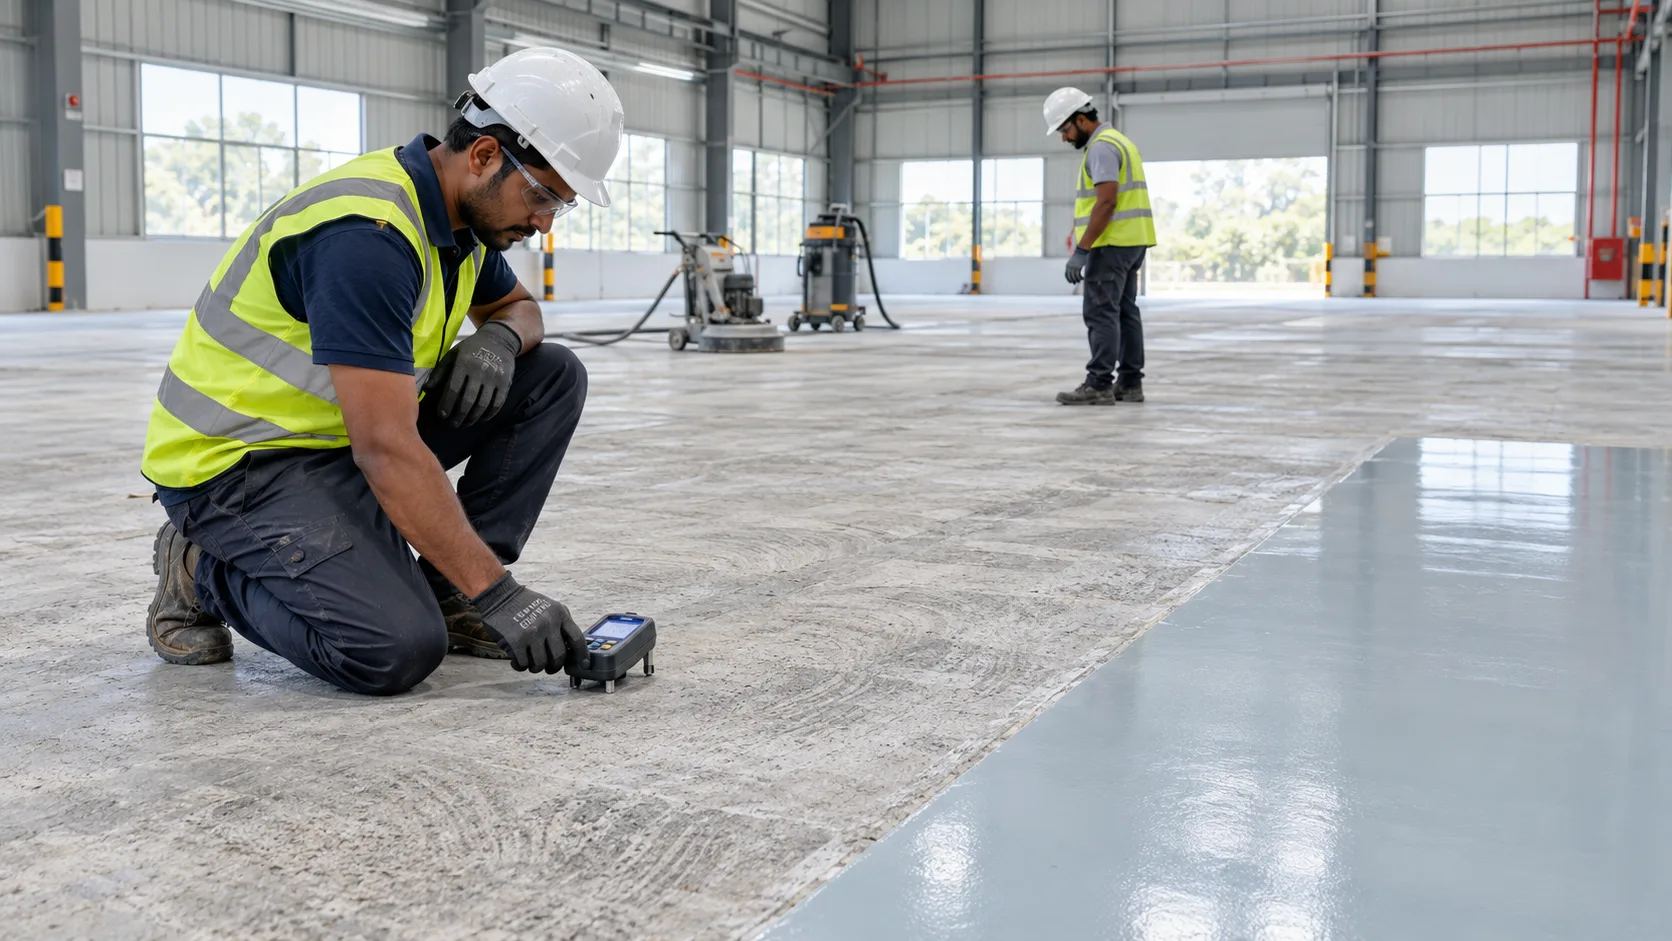
- Use the specified field test at representative locations, including suspect zones.
- Record ambient temperature and relative humidity with the readings.
- Compare results with the limits for the proposed primer and flooring system.
- Investigate abnormal results rather than averaging them away.
- Repeat testing after repairs or environmental changes when required.
Mechanical preparation creates the bond surface
Grinding, shot blasting or another approved mechanical method removes laitance and weak material and creates a suitable profile. The method should match the slab and system thickness. Acid washing alone does not reliably remove oil or weak concrete and can leave residues that affect the coating.
After preparation, vacuum the surface thoroughly and inspect it. Repair cracks, joints, holes and damaged edges with compatible materials. Existing movement joints usually need to continue through the resin floor; burying them under a rigid coating invites reflective cracking.
Contamination can defeat good preparation
Factories and workshops may contain oil, silicone, tyre residues, cleaning chemicals or process contamination deep within the concrete. Identify and treat contaminated zones before broad preparation. A small adhesion trial can reveal local problems, but it does not replace a representative survey of the floor.
Match the primer and floor to the operating environment
- Slab moisture condition and whether vapour pressure is expected
- Forklift, trolley, impact and abrasion loading
- Chemical spills, hot-water wash-down and cleaning regime
- Required slip resistance and hygiene finish
- Temperature during installation and future operation
- Available shutdown time and curing window
A moisture-tolerant primer or mitigation layer may be appropriate in some situations, but it must be specified for measured conditions and the complete system. It is not permission to coat a leaking, saturated or contaminated slab without correcting the source.
Application controls that prevent early failure
Confirm batch ratios, mixing time, pot life, coverage and recoat intervals. Monitor substrate temperature and dew point so condensation does not form during application. Protect curing floors from dust, water, traffic and early chemical exposure, and hand them over only when the system has reached the required service condition.
How to investigate an existing failed epoxy floor
Map the failure pattern, photograph interfaces and retain representative samples. Check whether coating, primer or concrete failed, then compare affected and sound areas. Moisture readings, adhesion tests and contamination assessment help determine whether local repair is viable or the floor needs broader removal and a revised build-up.
Epoxy floor failure FAQs
- Can peeling epoxy be recoated?
- Only after all loose material is removed and the cause is corrected. Coating over a failed layer transfers the new system's performance to an interface that has already proved unreliable.
- How dry must concrete be before epoxy is applied?
- The acceptable result depends on the test method and the selected flooring system. Use the current manufacturer's limit and interpret readings in the expected service environment.
- Why did epoxy peel only near the loading bay?
- That area may experience wet vehicle tyres, oil, sunlight, impact or higher vapour movement. Compare its preparation, exposure and slab condition with the sound floor before selecting a repair.
Industrial flooring by H.E. Engineering
H.E. Engineering installs epoxy, polyurethane and food-grade flooring systems for factories, warehouses, hospitals, laboratories, car parks and processing facilities. Our work includes condition assessment, mechanical preparation, compatible repairs and flooring selected for the actual moisture, traffic and hygiene requirements.